
Body Write-up: Part 1
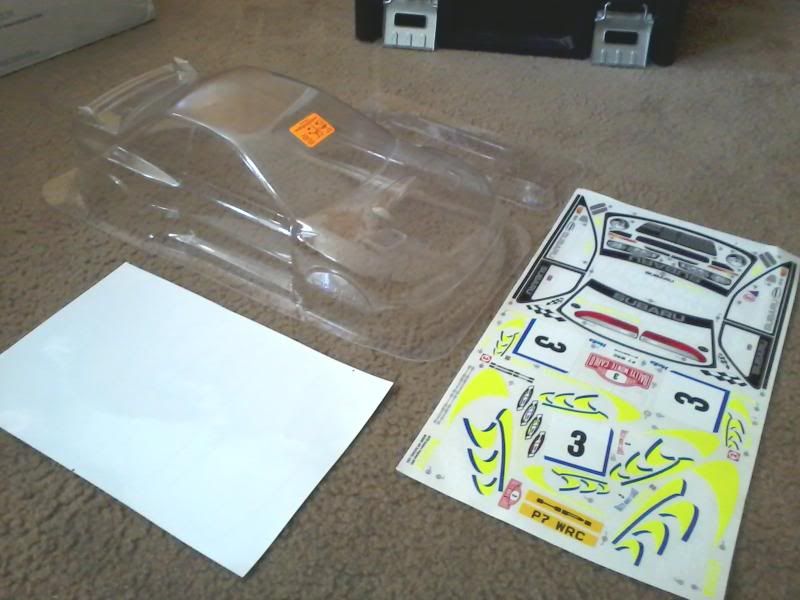
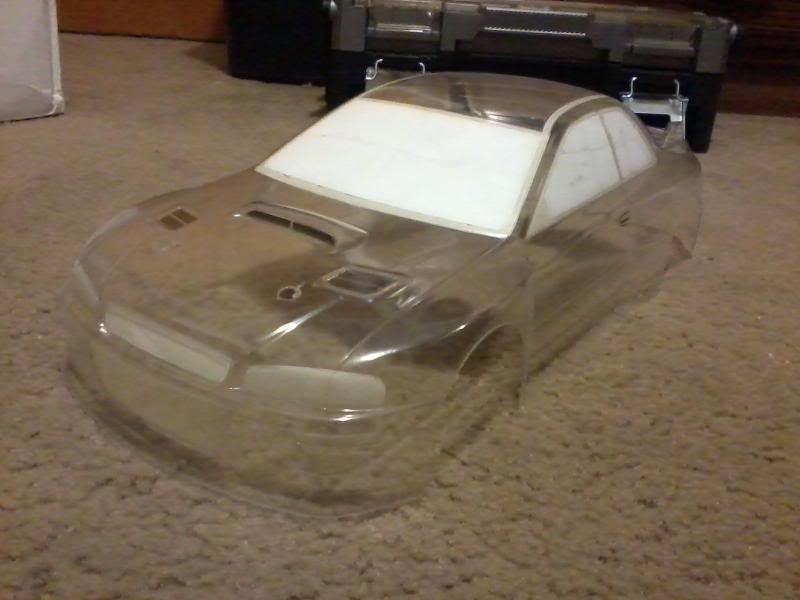
When I do up RC bodies, I want them to be as detailed as I can make them, even if they're just simple, clean and basic. One way I do this is to try to use as less stickers as I can for the basic details. For this, I chose an HPI '98 Impreza 190mm body, which is one of their older bodies and has a simple shape and detail.
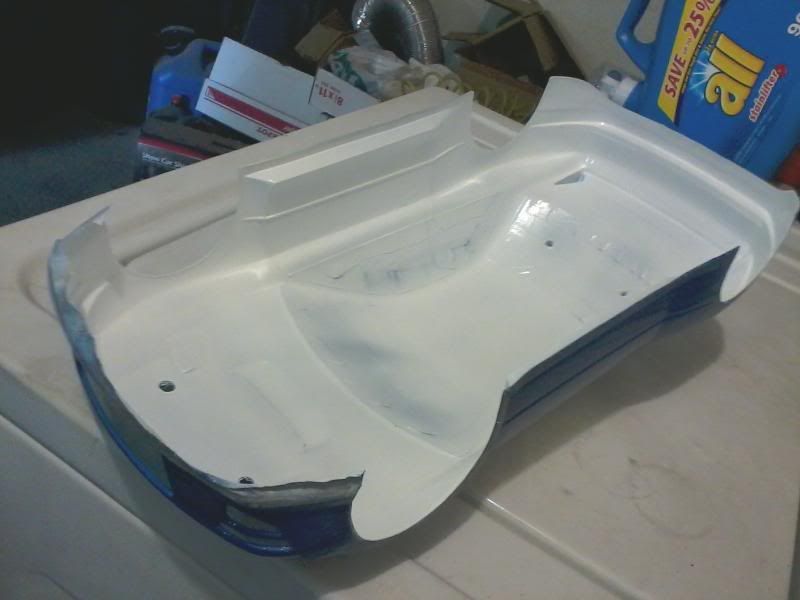
Of course the first step is cutting it out and drilling/reaming the body post holes. I fine tune the body by sanding the edges smooth and straight. I'll walk you through the paint process, making custom light buckets, and other final detail work.
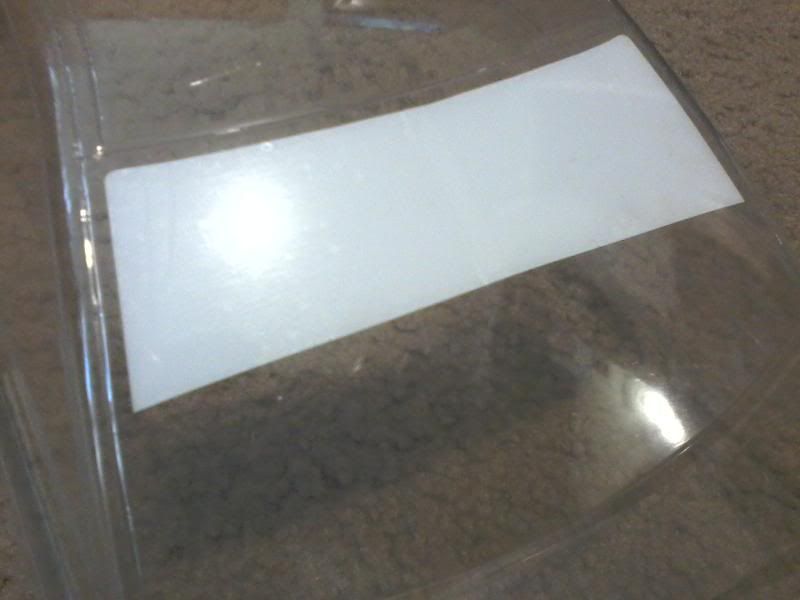
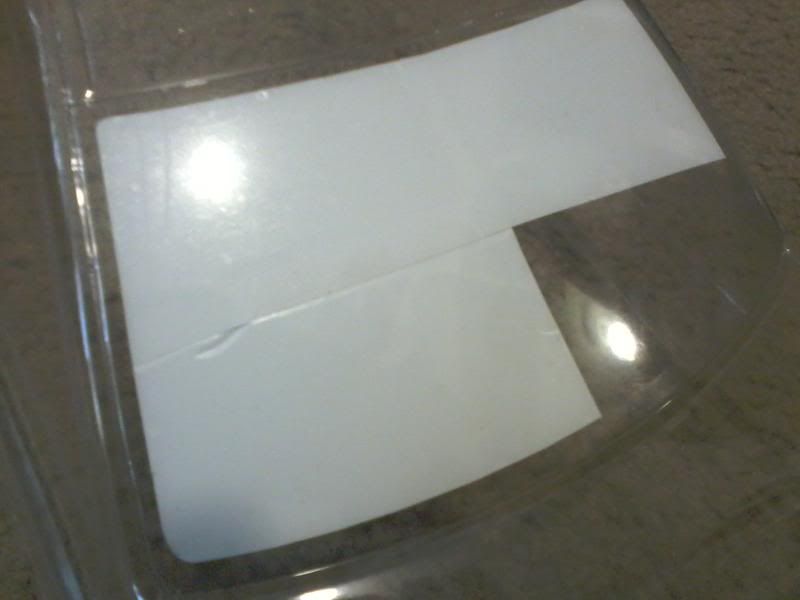
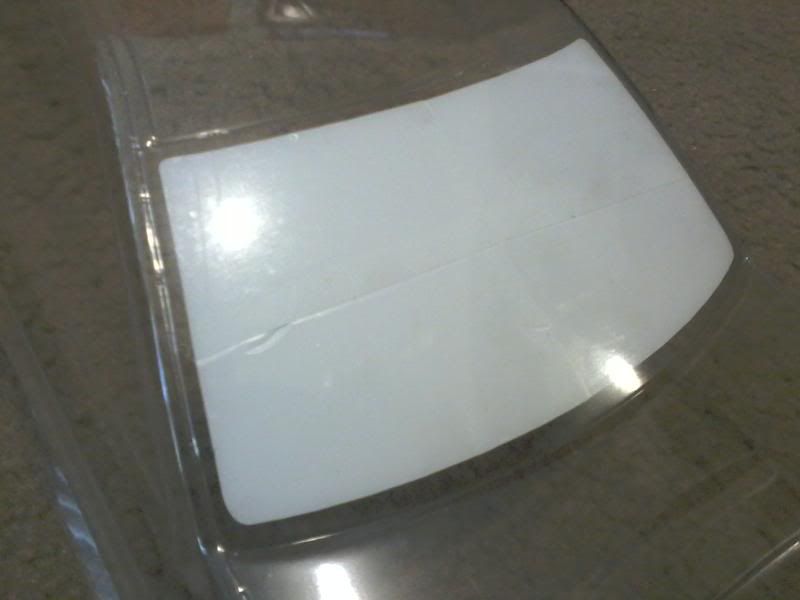
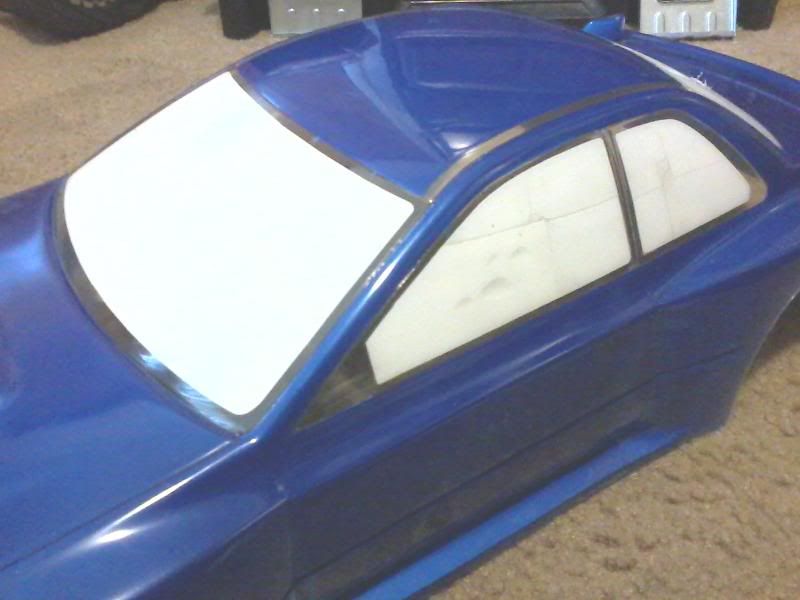
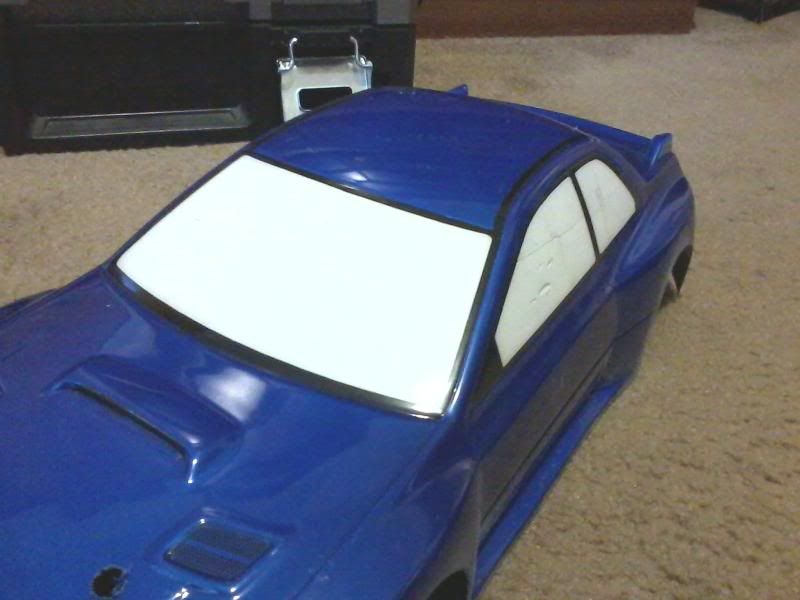
After cleaning, it's time for masking. Recently, I've been painting the window trim on all my bodies because it just looks so much better than using stickers and isn't really that hard to do. What I do is mask the windows and leave about a 2-3mm gap from the edges (this measurement varies on different bodies). The front and rear window masks are cut into 4 pieces so I can place them with the right gap for the window trim all the way around. It's easier to do it this way rather than cutting the mask smaller for the trim gap.

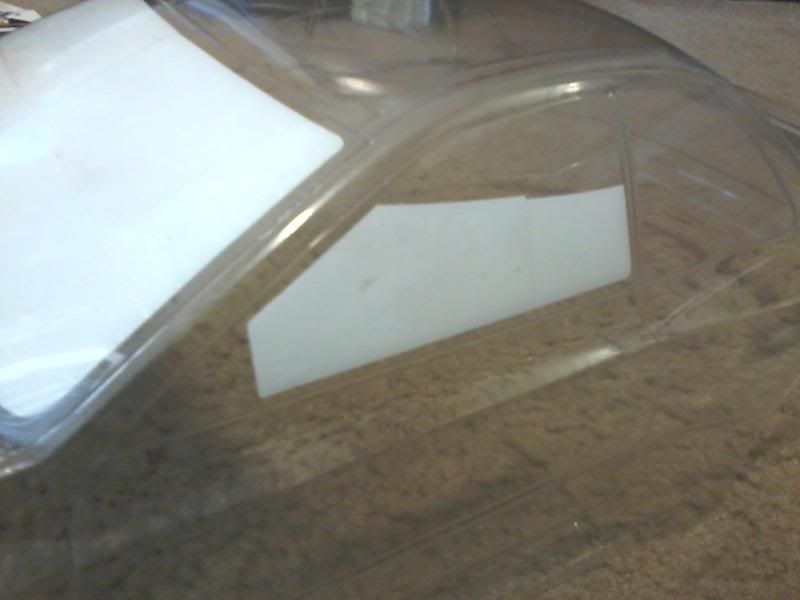
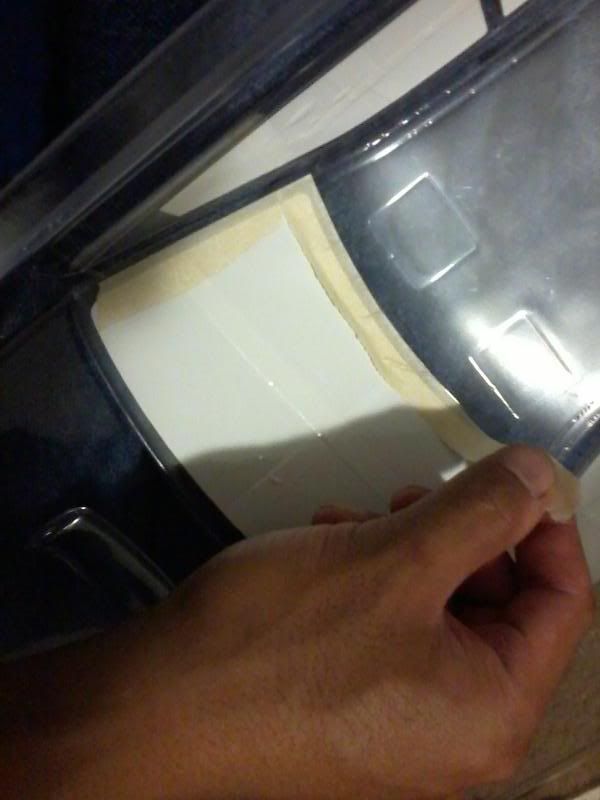
I do something similar for the side windows as well and use masking tape to fine tune the edges if there are any uneven areas.

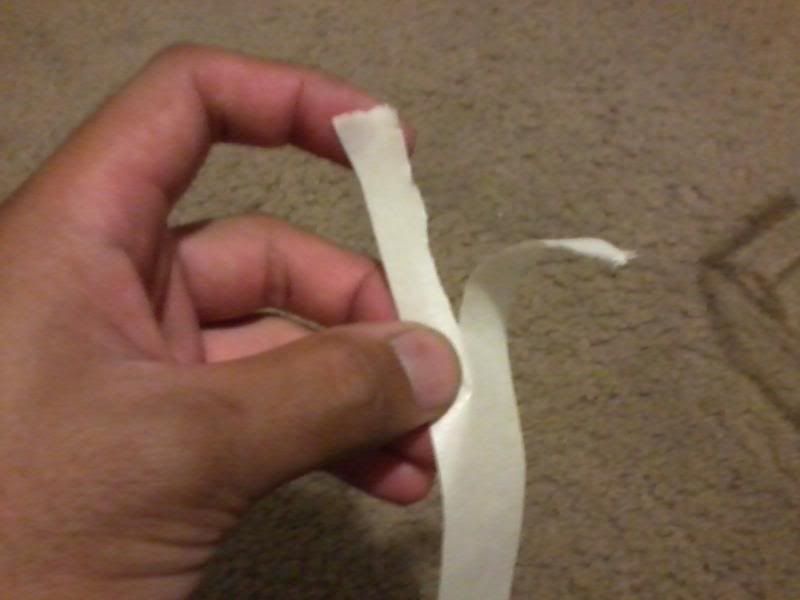 Once the windows are masked, I use strips of masking tape that I tear in half length-wise and mask of the trim areas. It's important not to pull on the tape when masking because it will peel off a bit since it's under tension which will be bad when you start painting. So leave the masking tape loose as you apply it to the body.
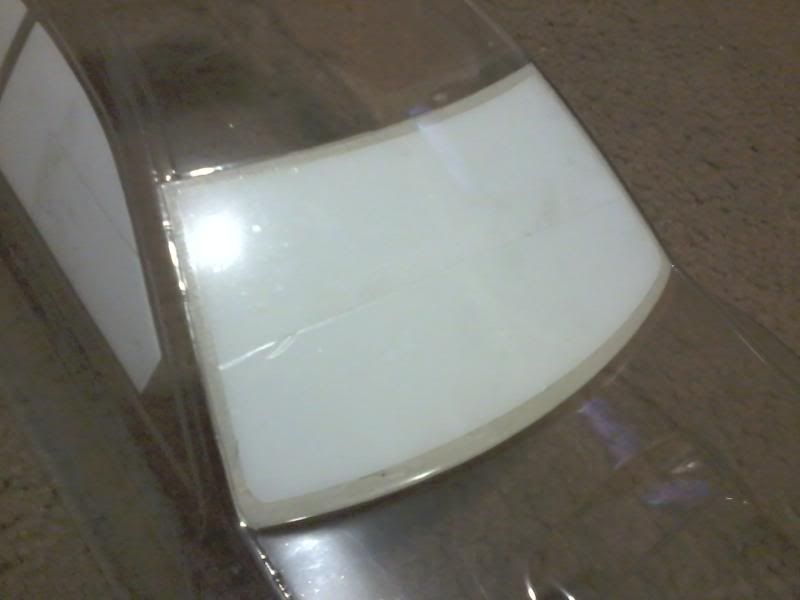
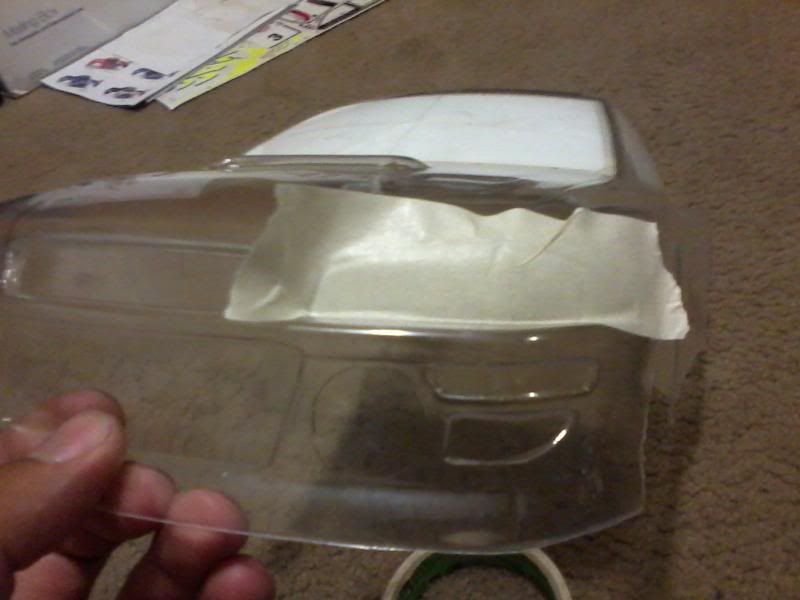
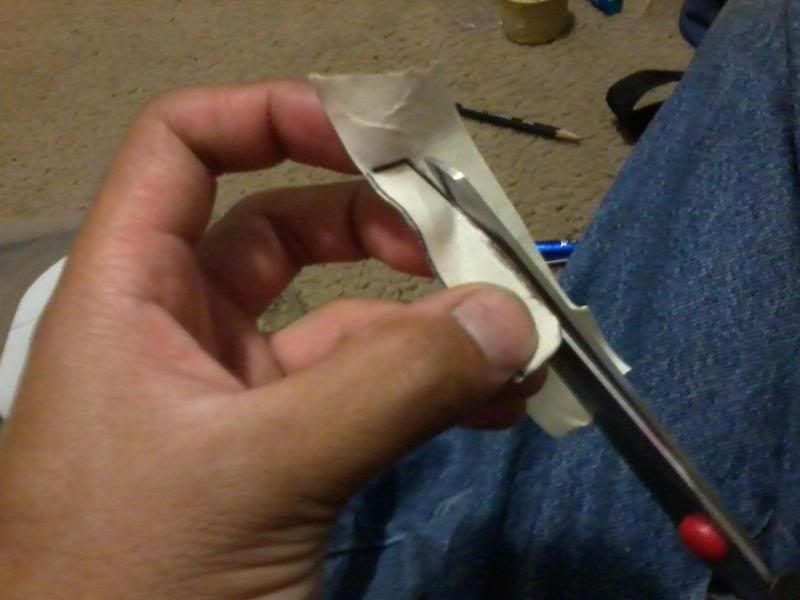
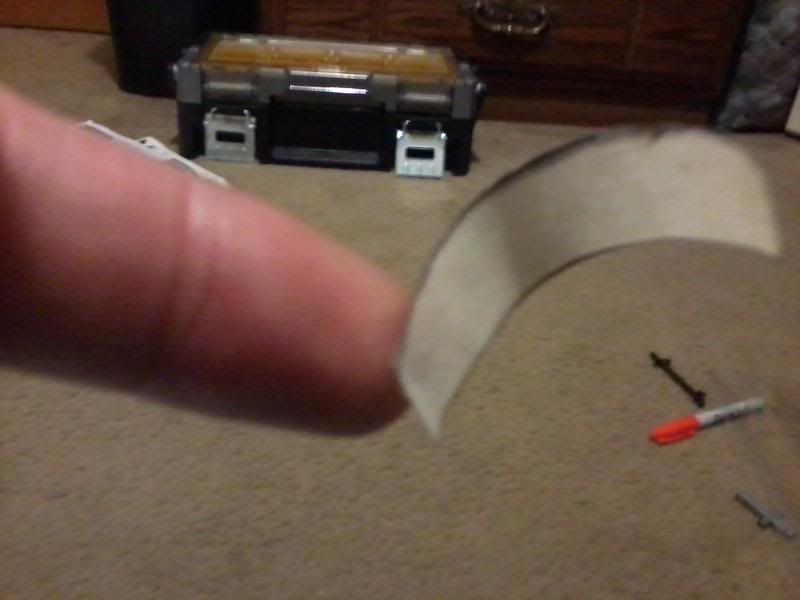
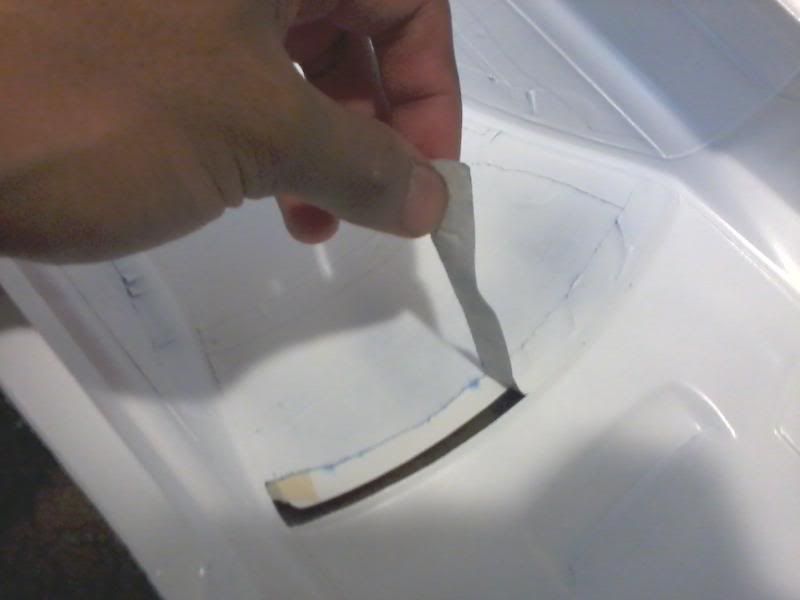
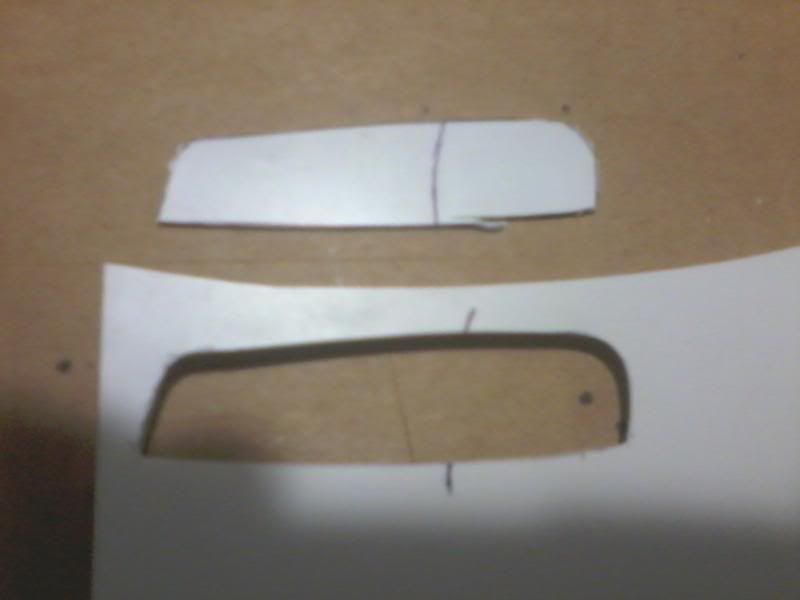
Once the windows are all done, I can mask off the lights and grills. What I do here is put a piece of masking tape on the outside of the body and trace the light or grill with a pencil. Then I remove the tape and cut out the tracing and apply it inside the body. When doing this, remember that if you trace the left side and cut it out, that's actually the masking for the right side.

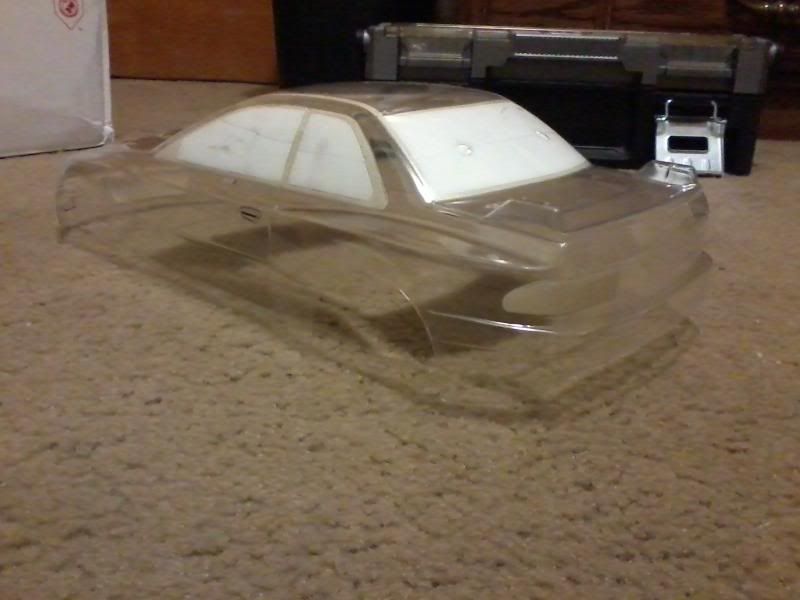
Here's the body all masked up and ready for paint.
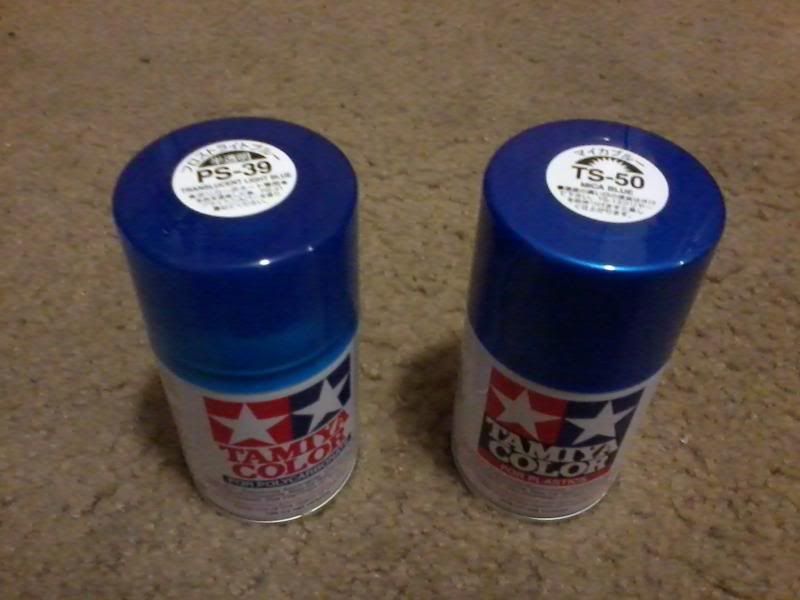
When painting RC bodies, it's important to use paints that are made for polycarbonate. Anything else will crack, peel or flake off upon any impact when using the body. However, once you have a coat of polycarbonate paint on the body, you can use any kind of paint you want. I plan on doing this body blue mica which is appropriate for the Impreza of course. I'll be spraying a coat of Tamiya PS translucent light blue first because I plan on using Tamiya TS blue mica for the main color. The TS will be fine to use since it'll be clinging to the first PS coat (I've done a body this way before and it hasn't come off yet). Tamiya's blue mica is a very nice flaky blue that looks awesome in the light (I've built model cars with that color, it's nice).
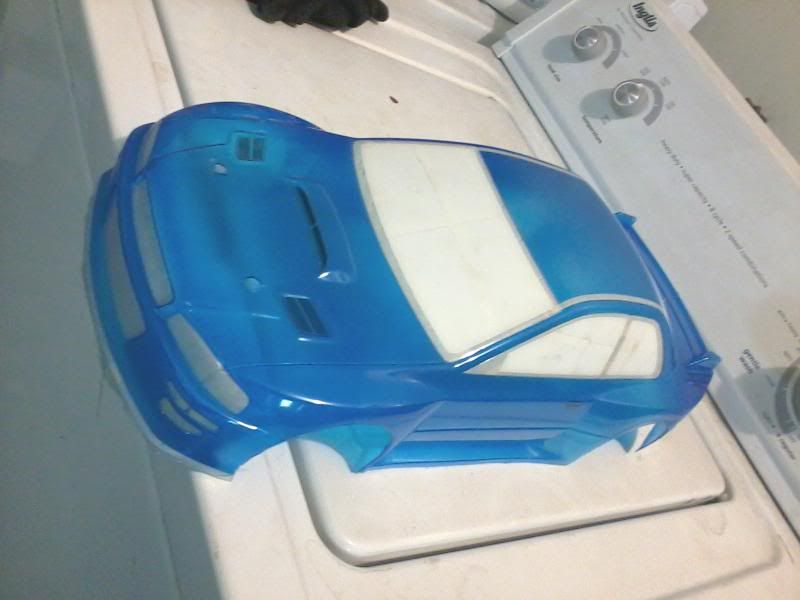
Once I get an even coat of the translucent light blue, I can spray the blue mica.
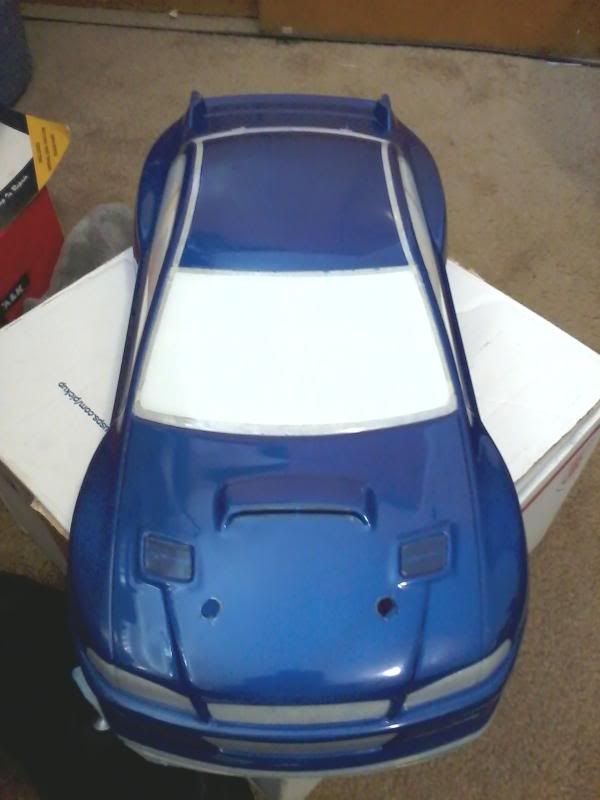
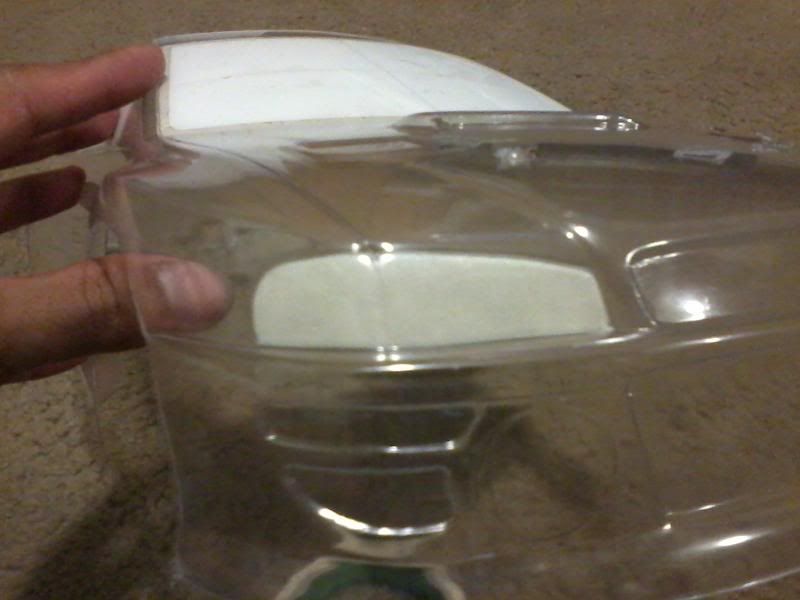
To help the color pop a bit more, I can either back the blue mica with white or mirror chrome (I chose white).
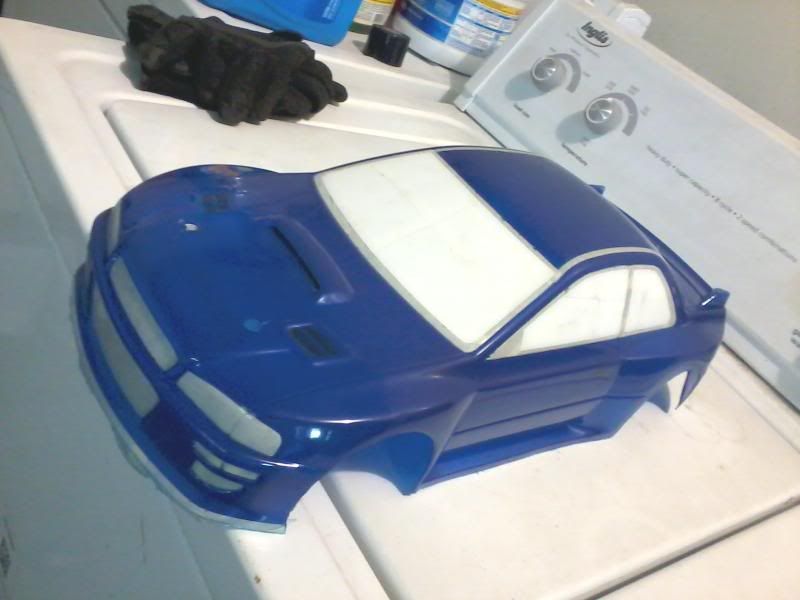
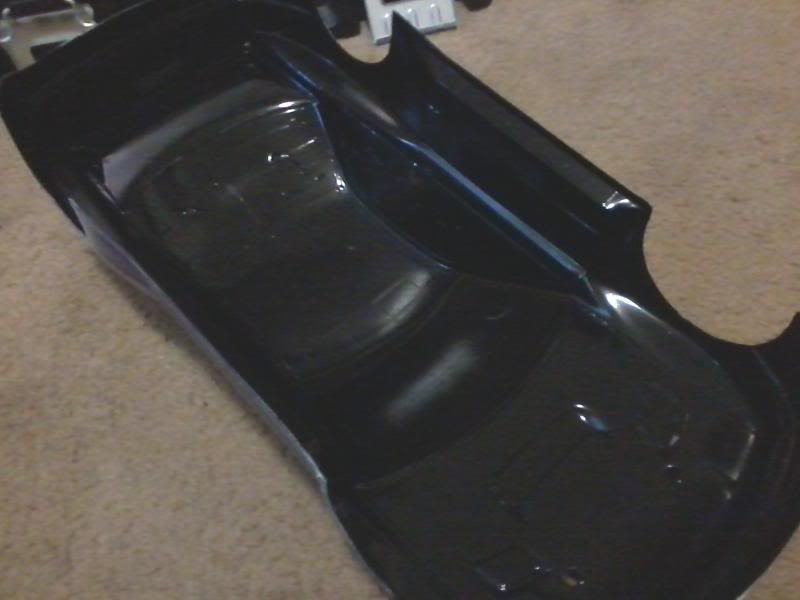
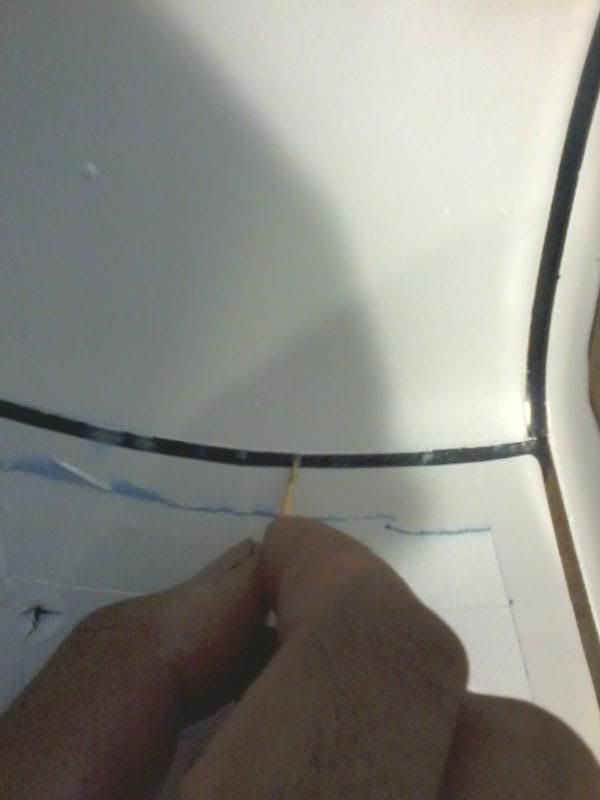
After the body color has dried, I can remove the window trim masking and clean them up wherever there is overspray which I do using a toothpick and some Dynamite lexan body cleaner, then I can spray the trim with black paint. I also spray the rest of the body black as a final backing coat. You don't necessarily have to but that's what I do.
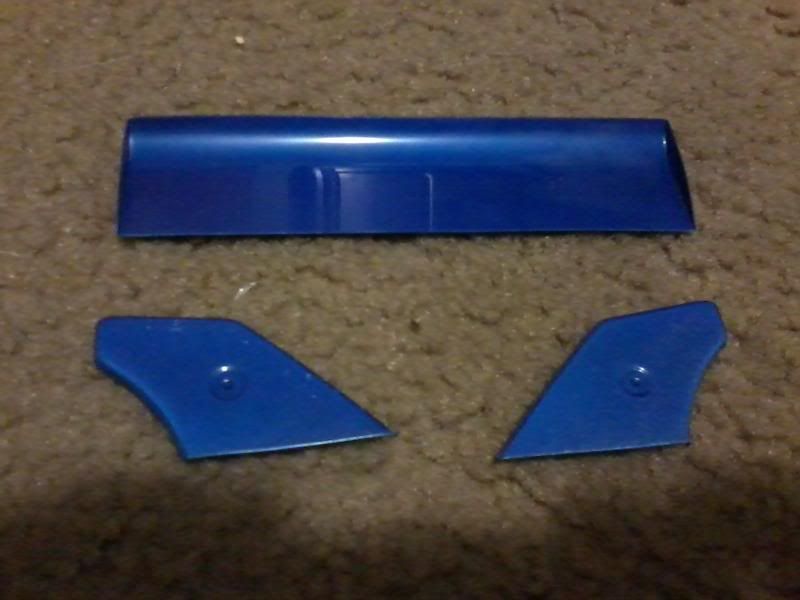
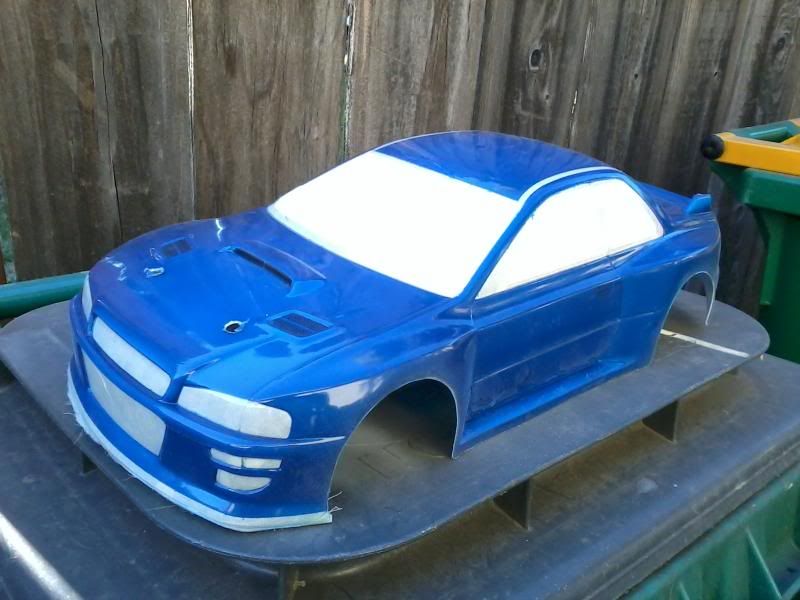
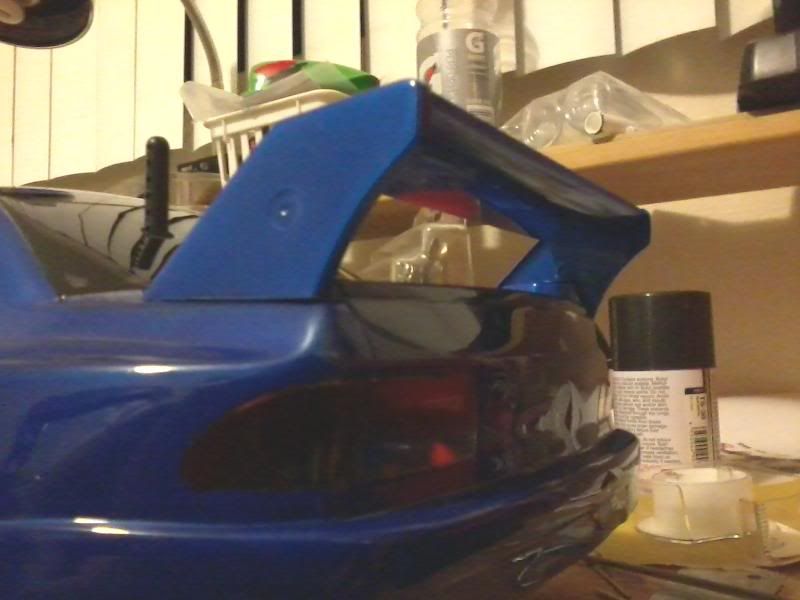
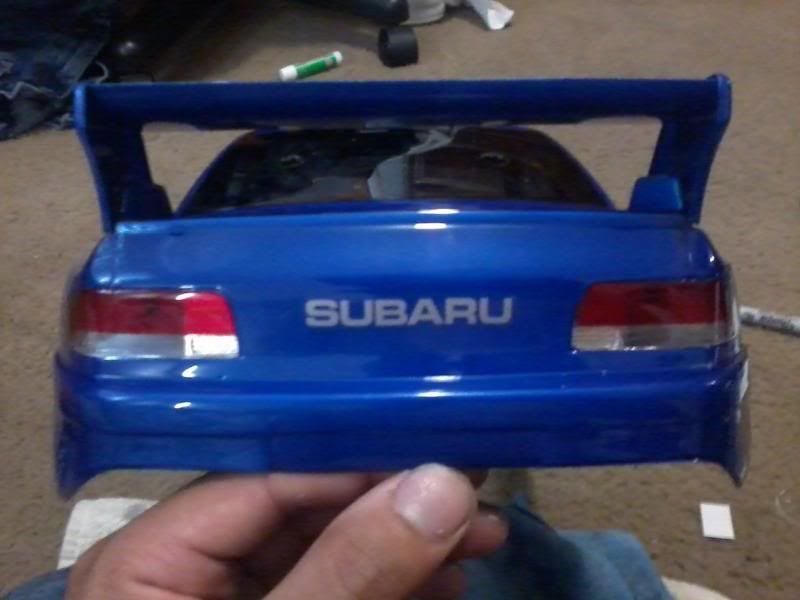
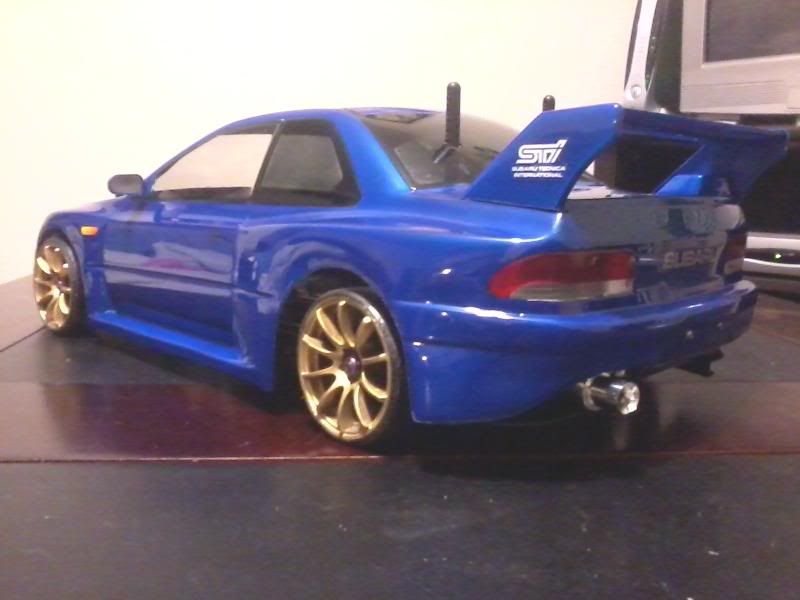
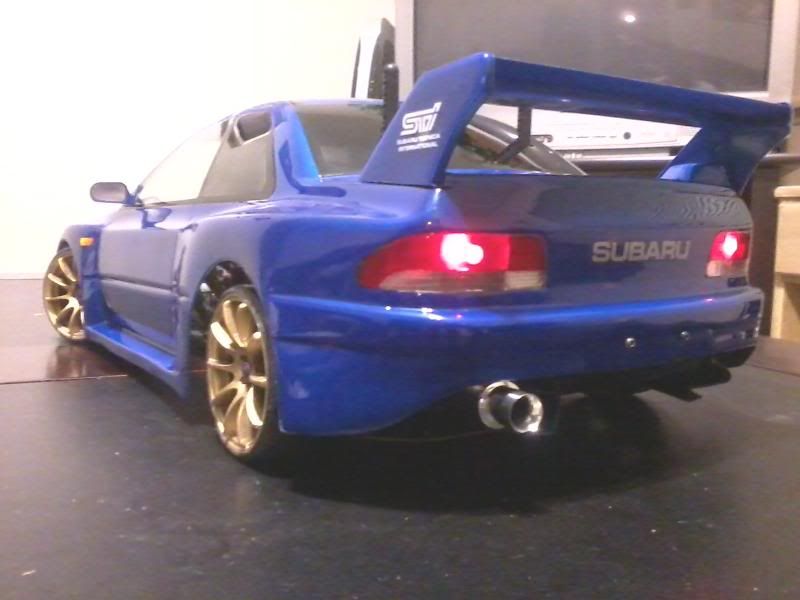
The rear wing for this body is inaccurate to the actual car and is kind of big and weird looking. But that's all it has so I decided to modify it by cutting the side struts smaller to lower the height of the wing. I also cut the wing deck so it mounts higher on the struts to give it a better look.
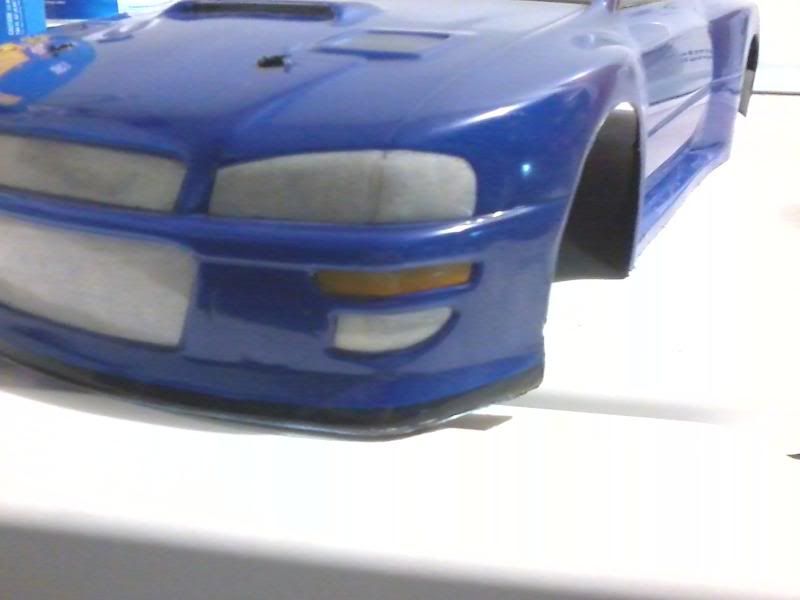
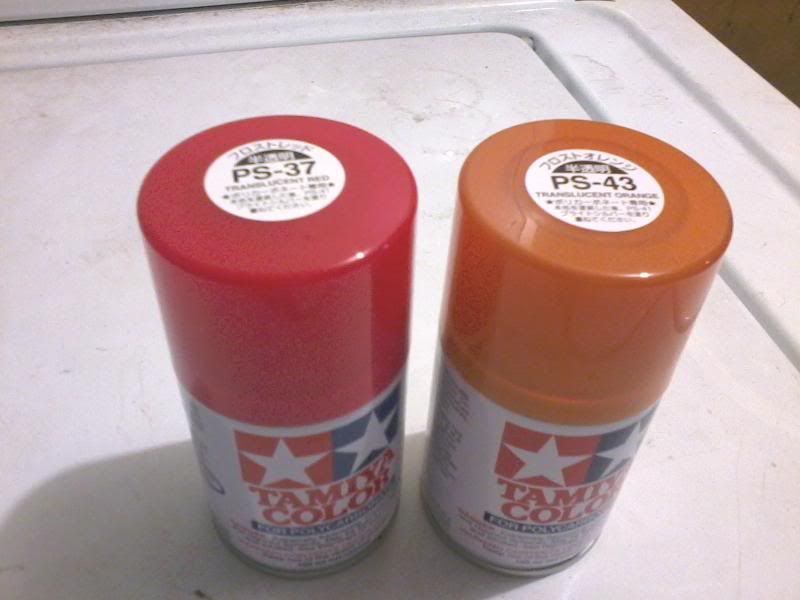
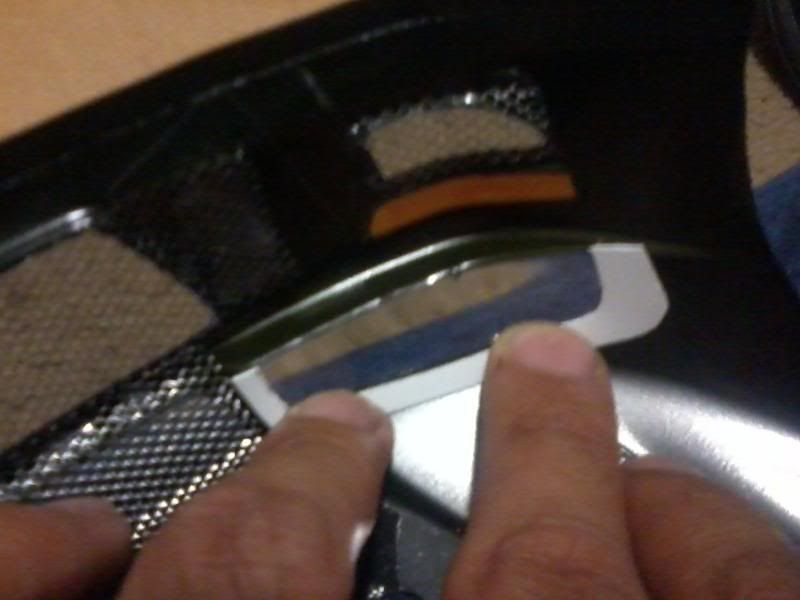
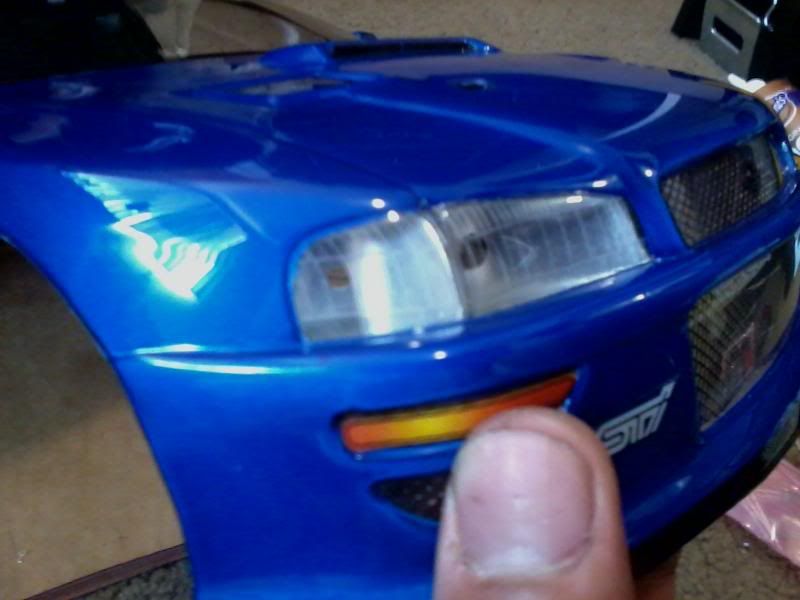
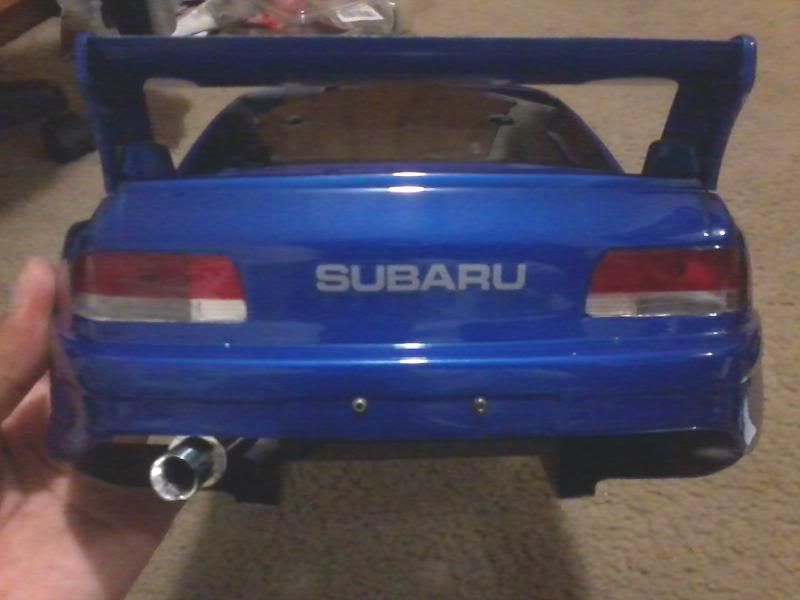
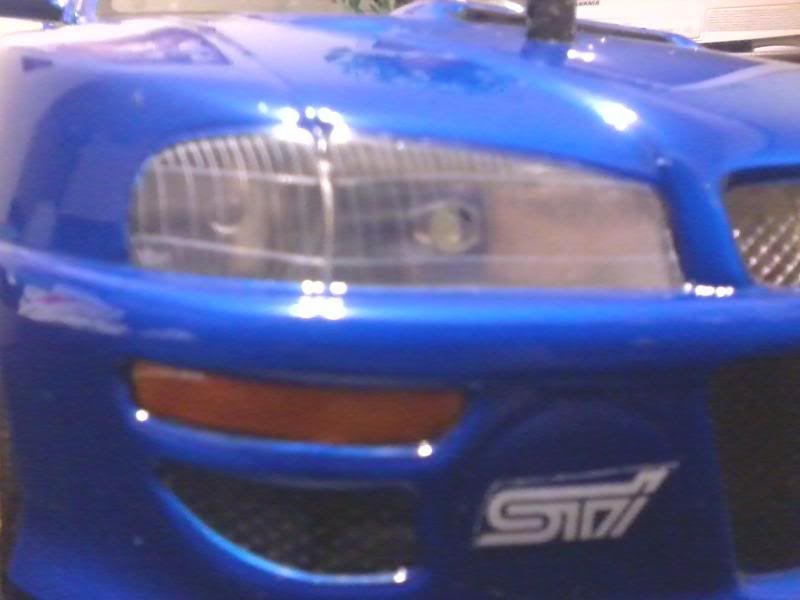
The final paint step is the lights. This body has red tail lights and amber bumper lights in which I use Tamiya translucent red and orange. I spray 2-3 light coats of paint to get even coverage. I'm keeping the rear signals clear since this body resembles the 22B, especially with my choice of blue. I also decided to tint the rear windows with Pactra window tint spray.
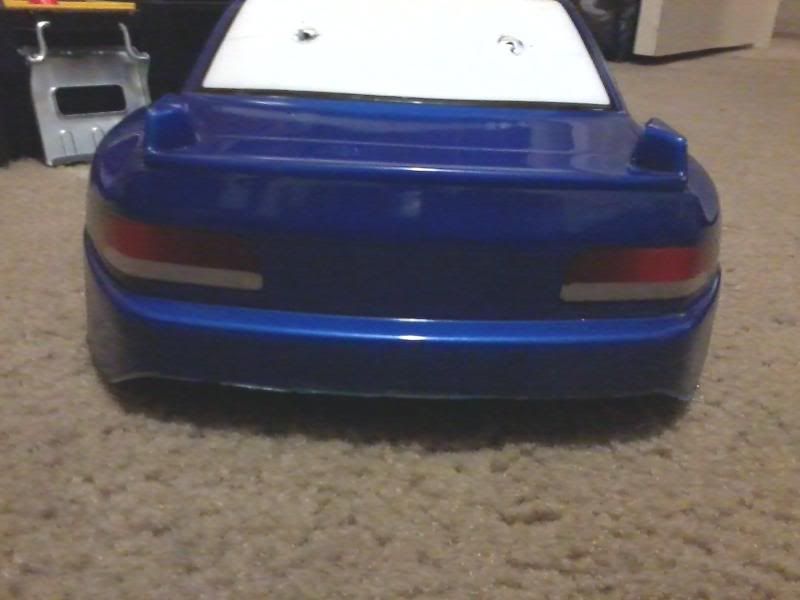
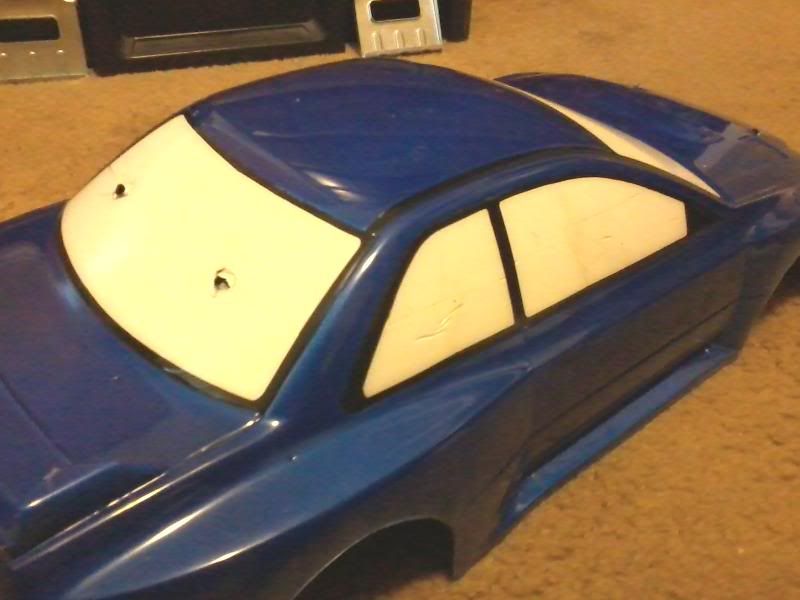
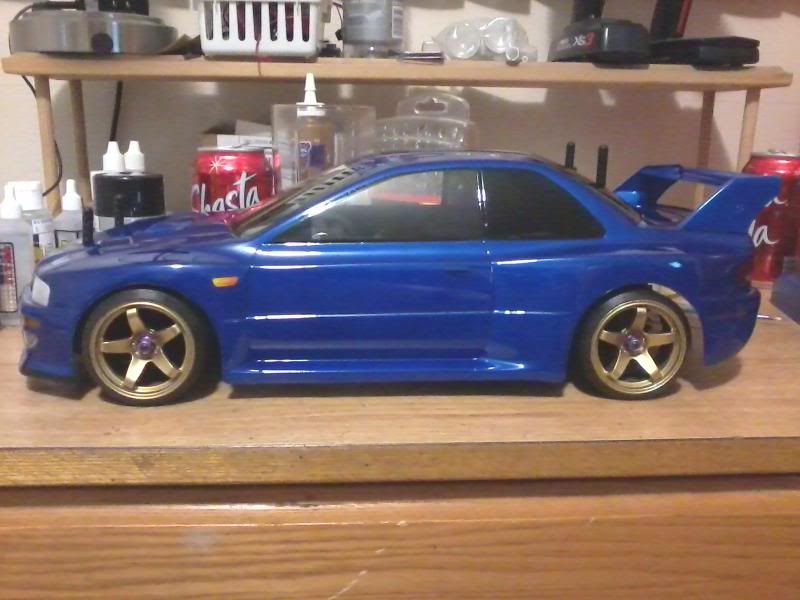
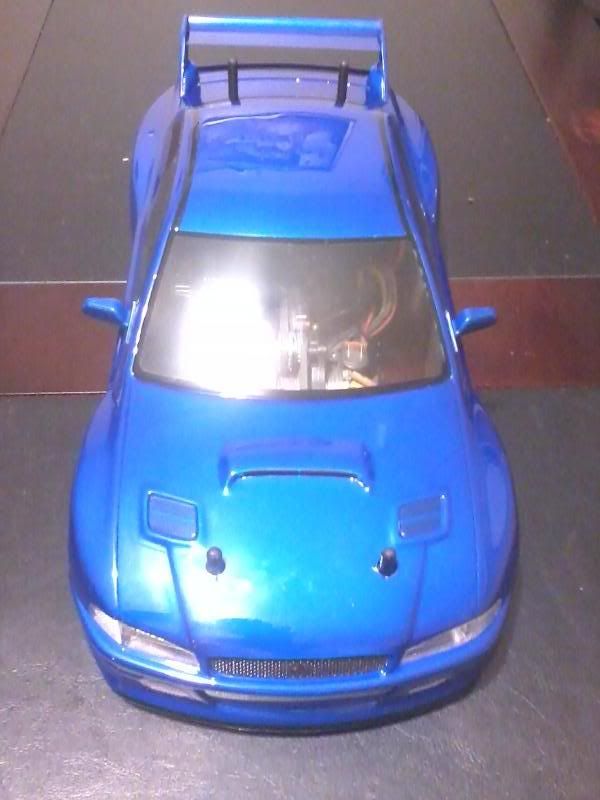
Here's the body put together, close to finished.
Stay tuned for part 2 of the build = )
- DDJ
9/29/11
Body Write-up: Part2
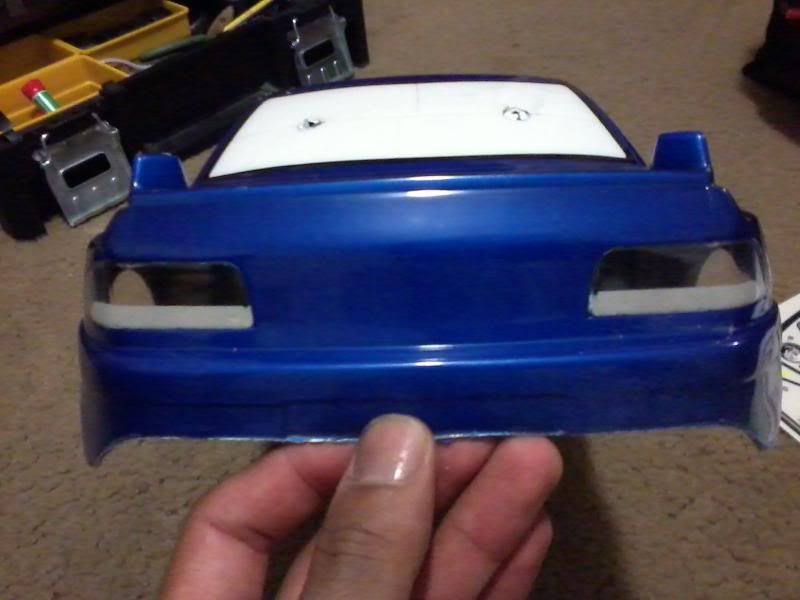
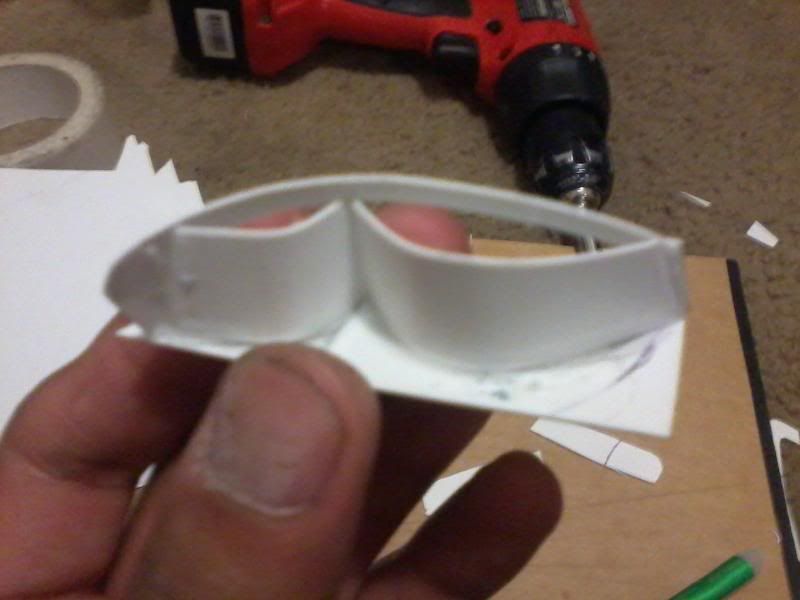
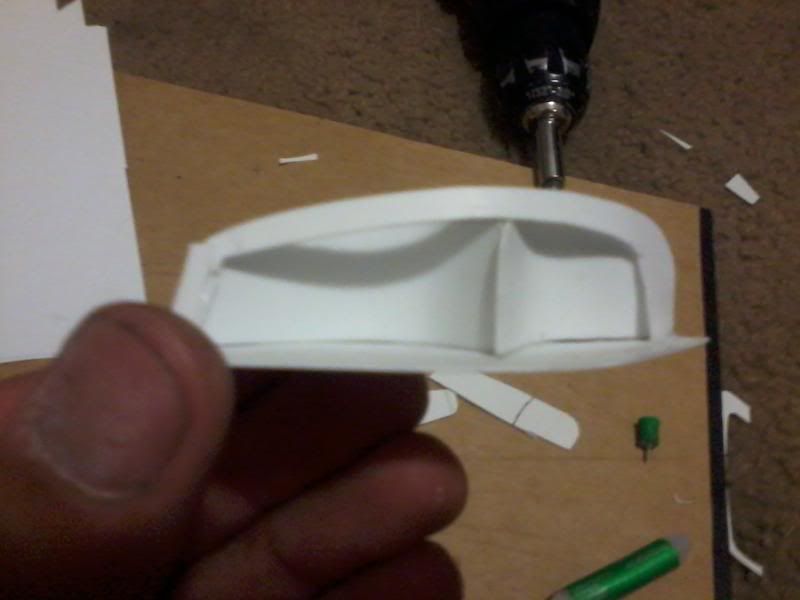
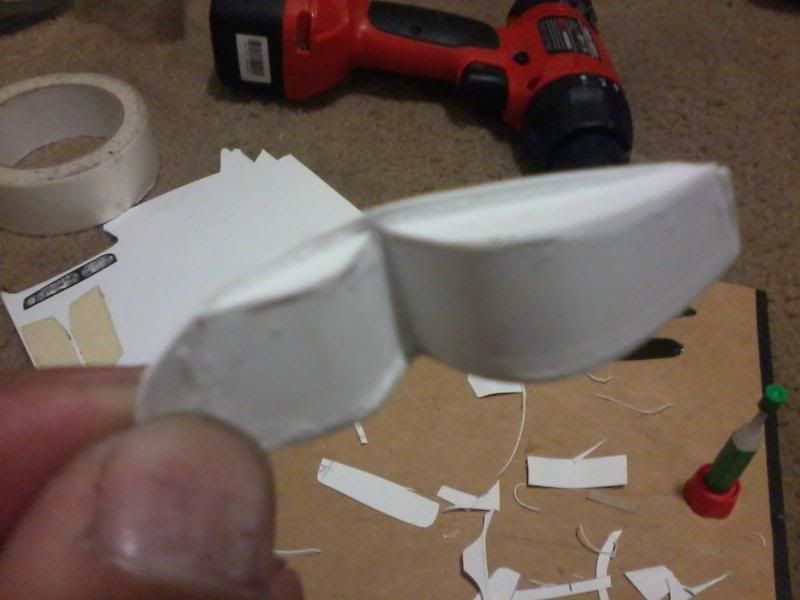
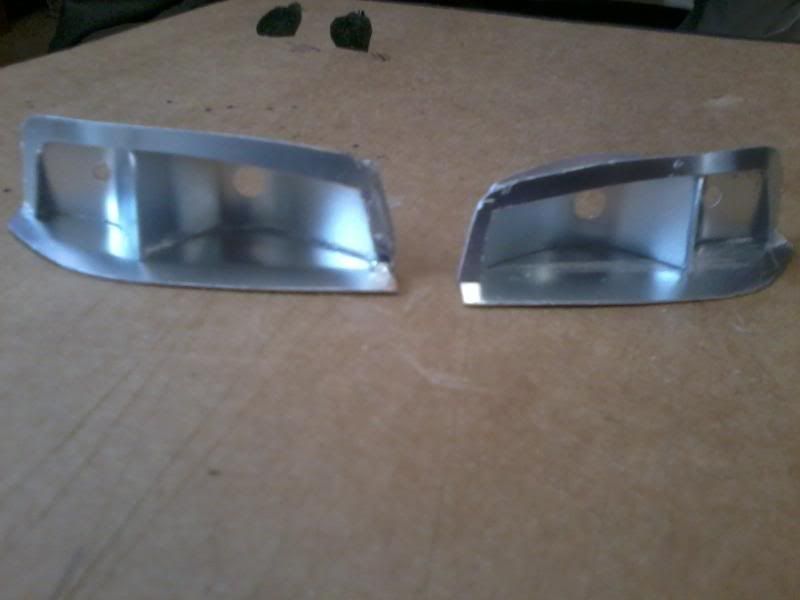
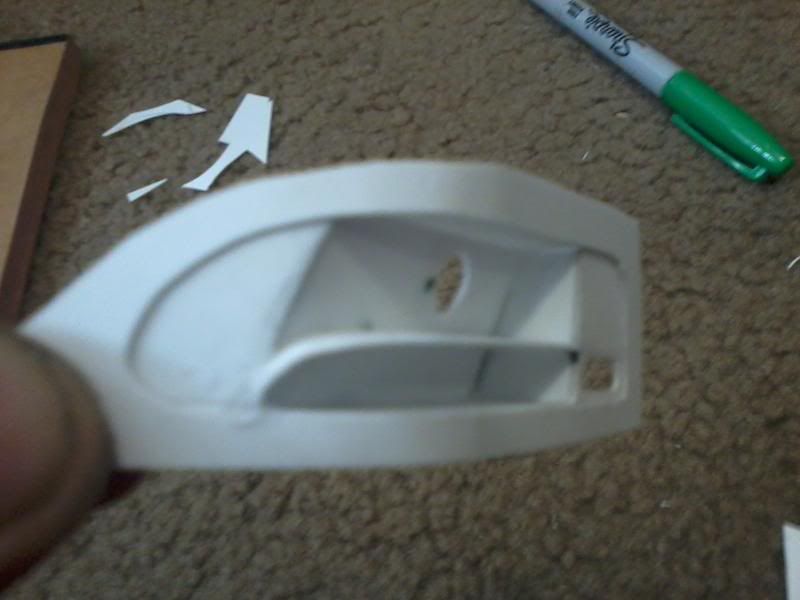
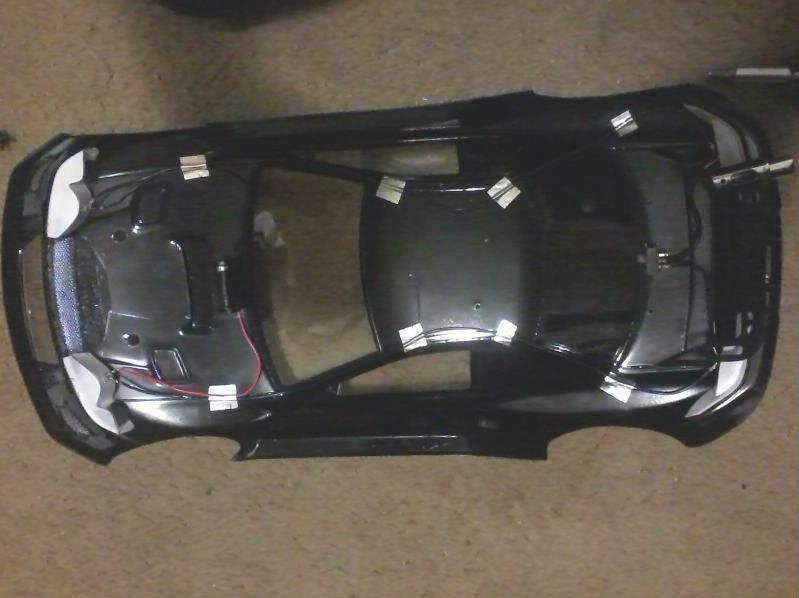
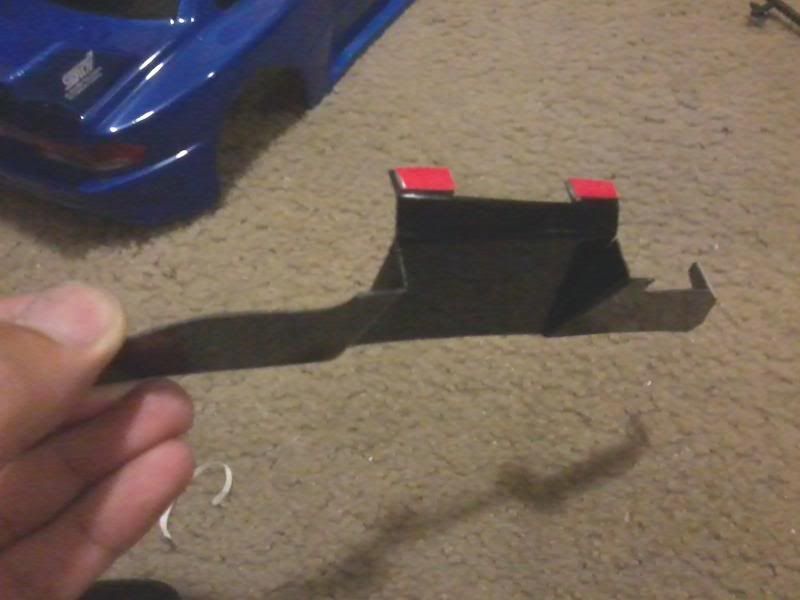
Ok, continuing with the build. Now, this is an older HPI body so it doesn't come with any light buckets. I've had to make light buckets for bodies before so it's not that difficult for me but it does vary between bodies and headlight designs. I actually made a video of how I made the headlight buckets for this body that you can watch HERE. Anyway, here's some pics of the light buckets making process.
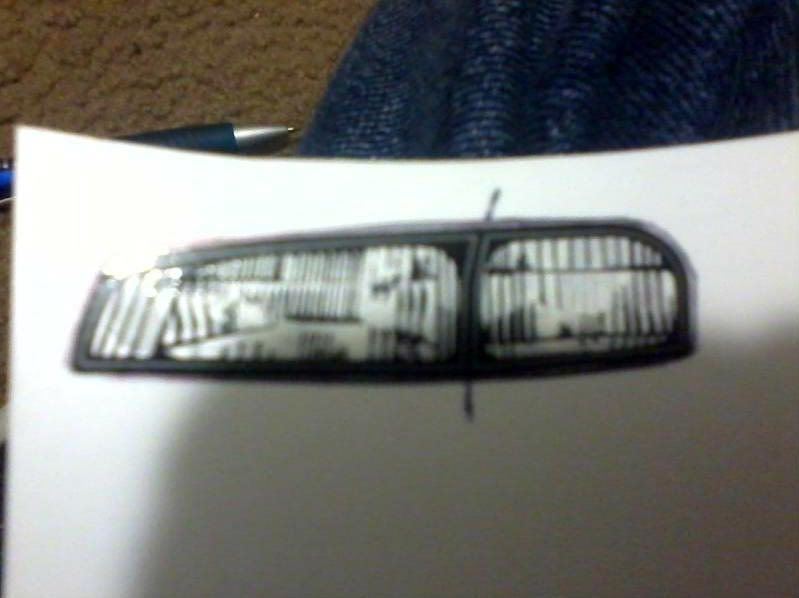

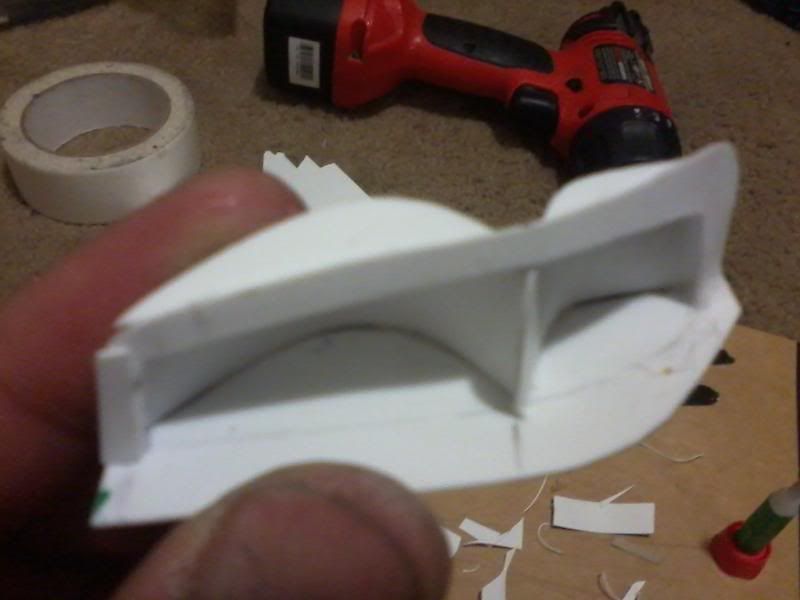
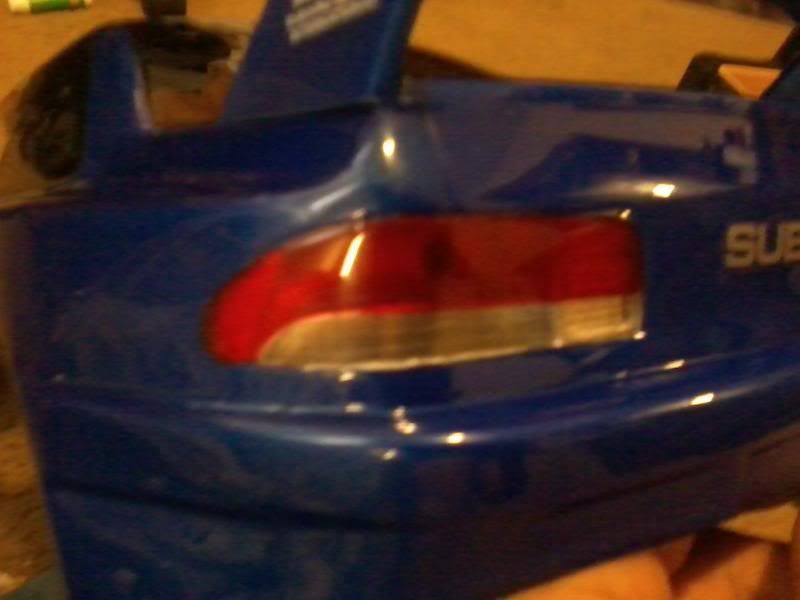
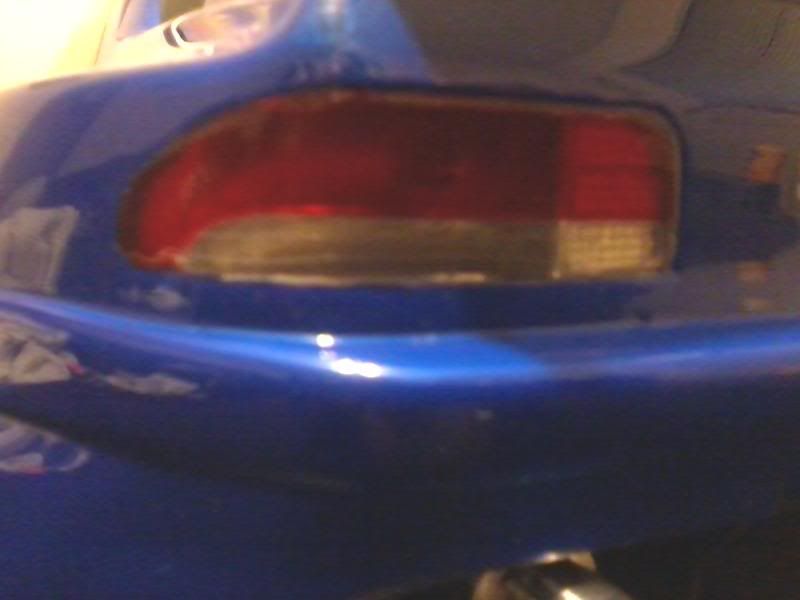
I thought I would have some difficulty with the tail lights, but I actually found easier to do after I studied how the real tail light housings look like.
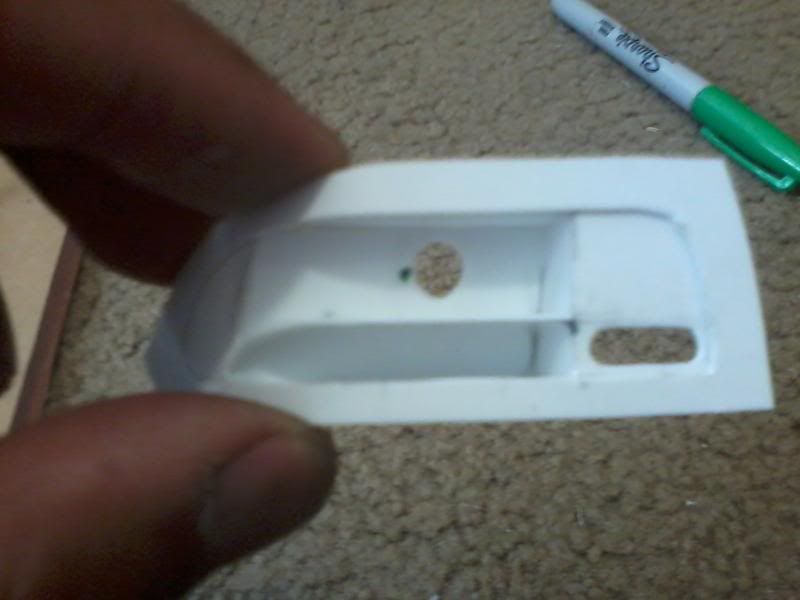
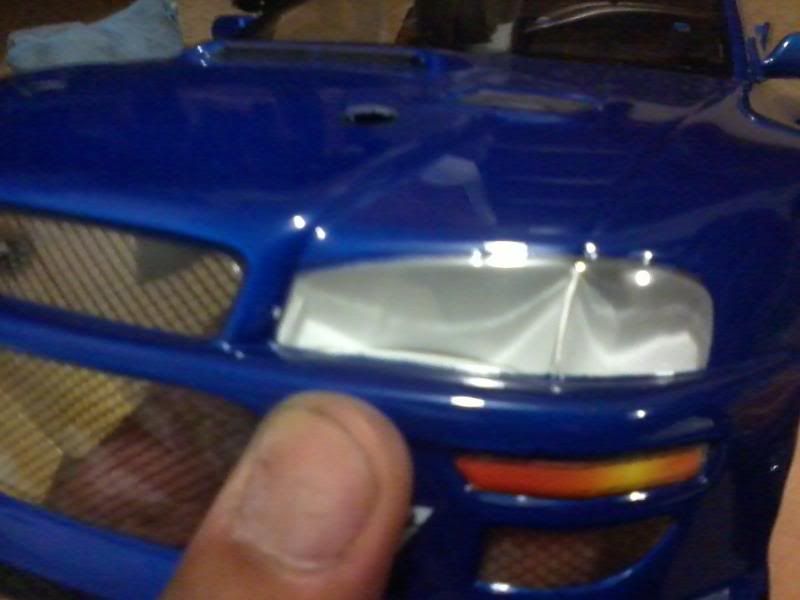
Here's the buckets installed on the car. I used Yokomo mounting tape for the reflectors on the tail lights for added realism. I also added more realism to the lights by scoring the lines on the lenses carefully with an Xacto knife.
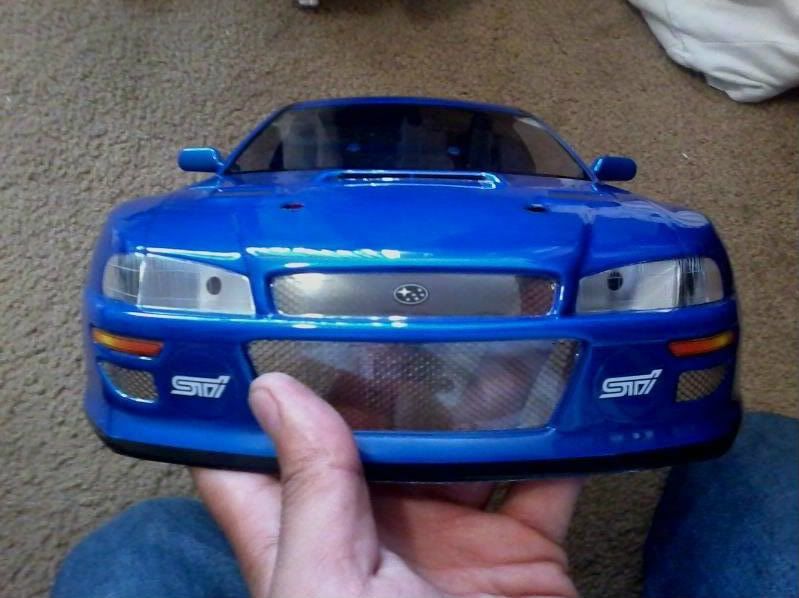
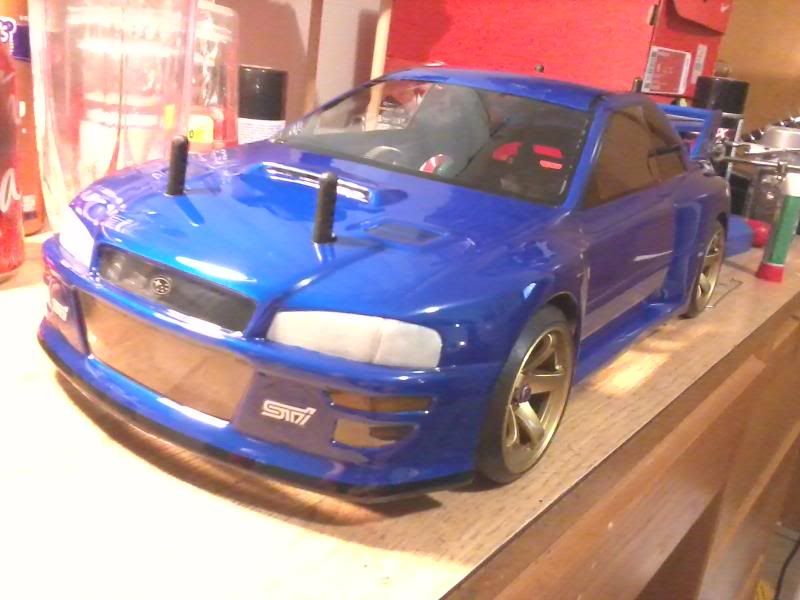
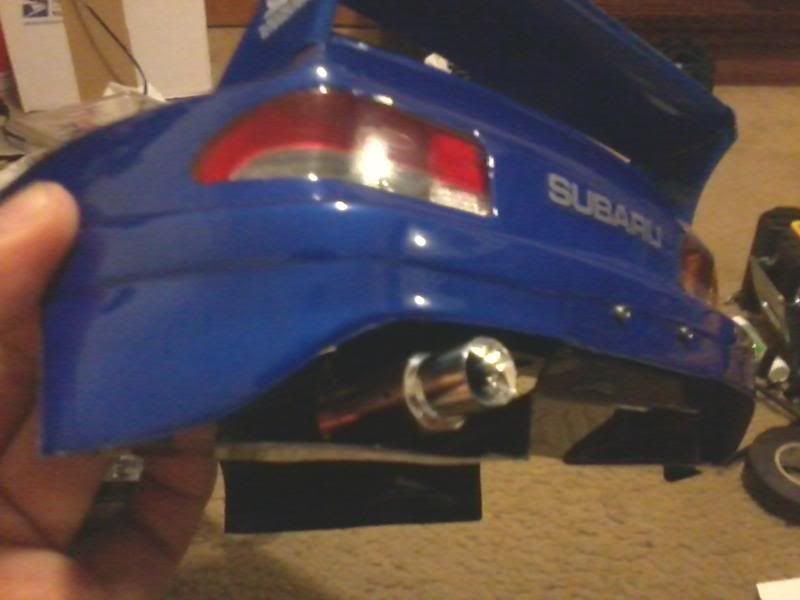
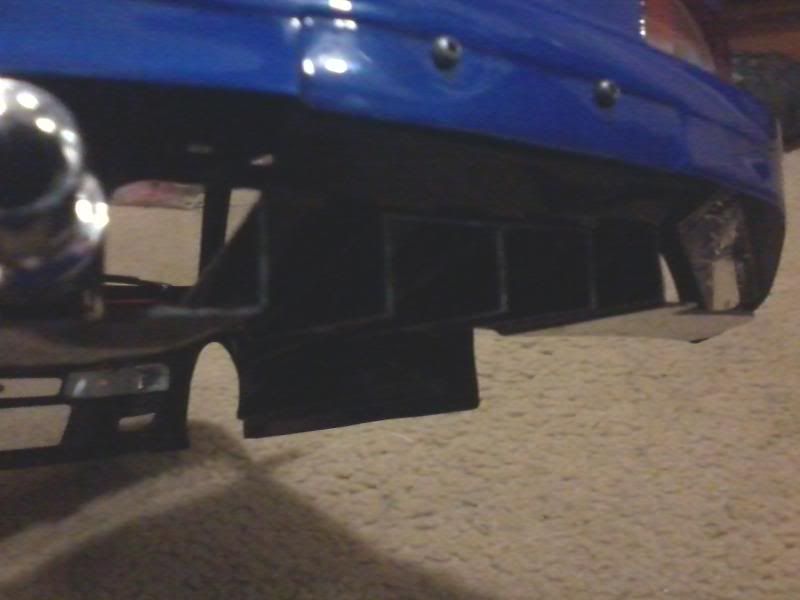
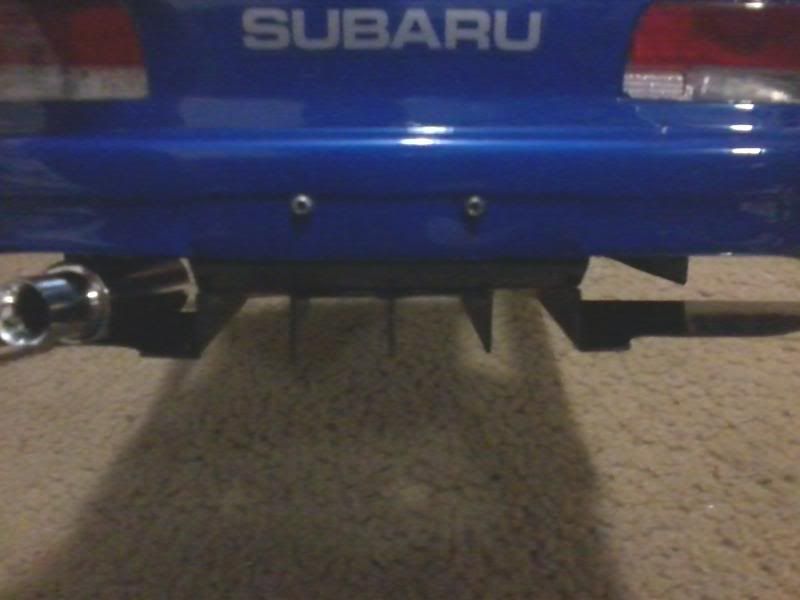
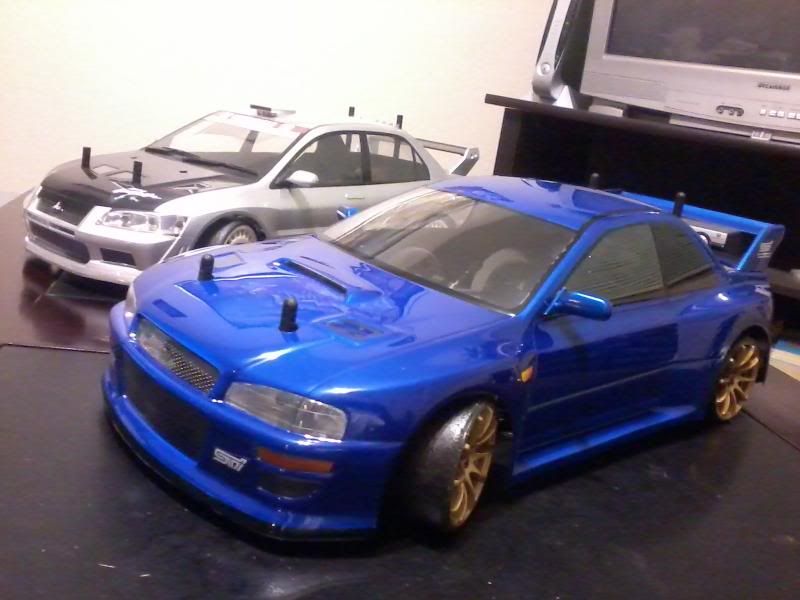
For some final detail, I added aluminum mesh on the grill openings which I painted black. I attached them by applying clear sticker onto the body first to protect it from the adhesive, then using Tacky Glue to attach them. I also added a Yokomo muffler and side mirrors from HPI's tuner kit which I painted body color (white then blue mica). I also added wipers (2 front and 1 rear). I had to shrink the length of the passenger side wiper since it's smaller than the driver's side in reality.
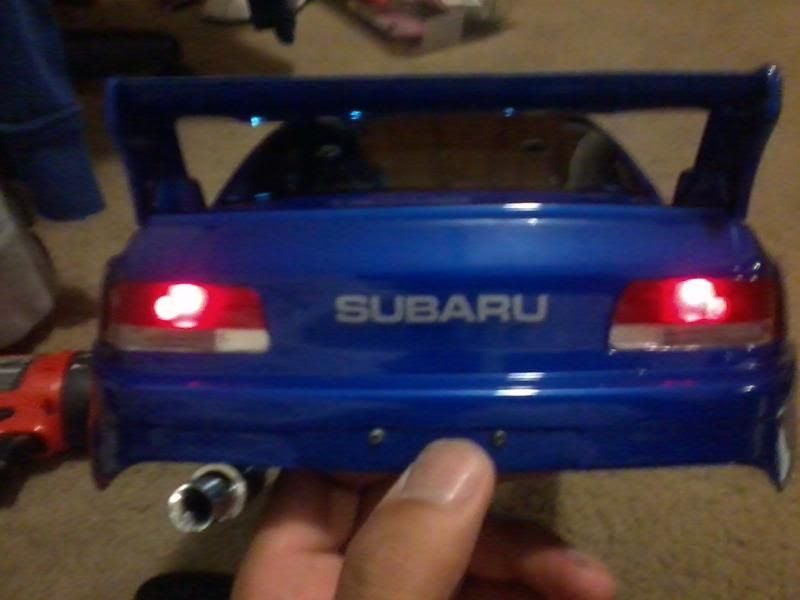
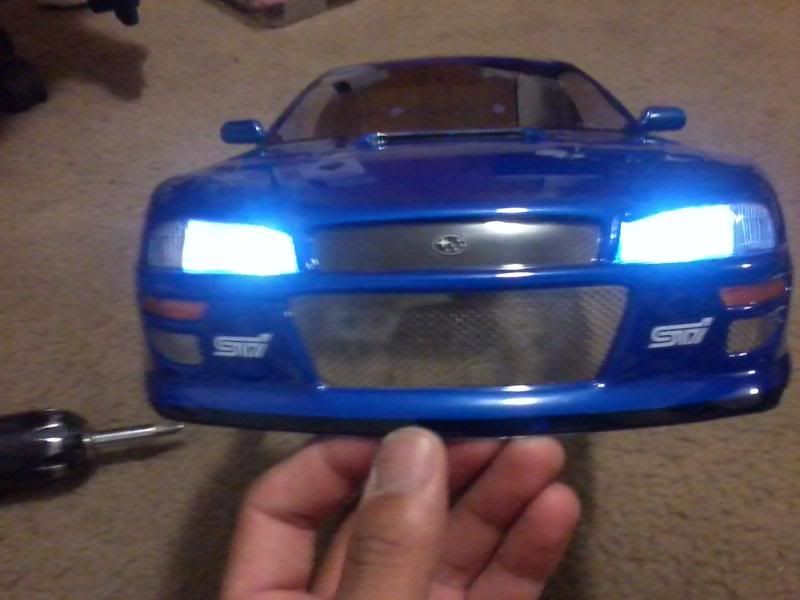
The lights are fairly simple: 2 headlights, 2 tail lights. I used 2 white leds for the headlights and 2 red leds for the tail lights, all hooked up in series using an A23 12v battery. Here's some pics of them lit up.
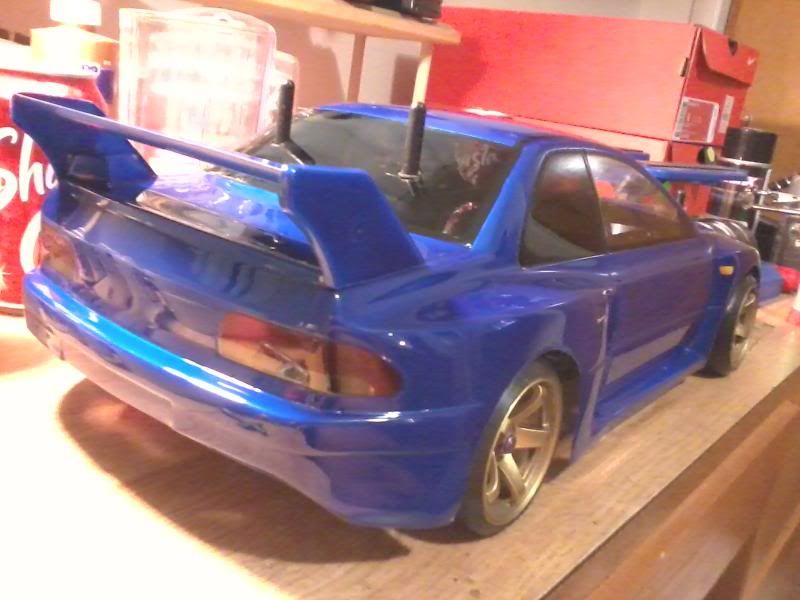
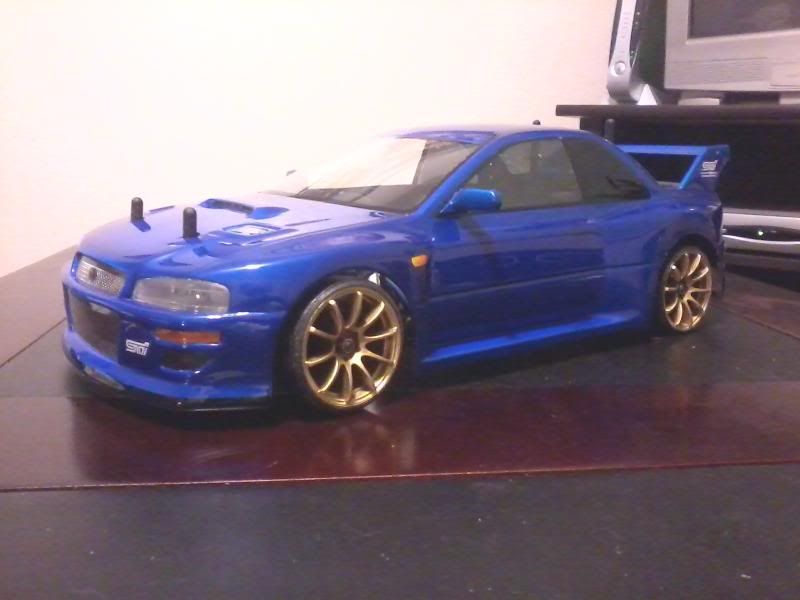
Well that's pretty much it on the basics of how I do up my bodies. Seems like a lot of work but it's something I'm used to doing, and it's all worth it to have that much extra little detail on my bodies. Here's some final pics.
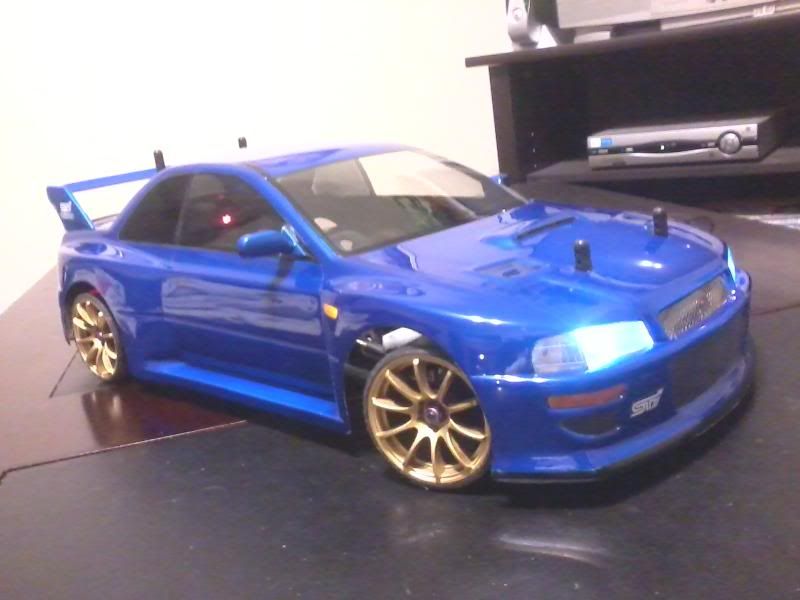
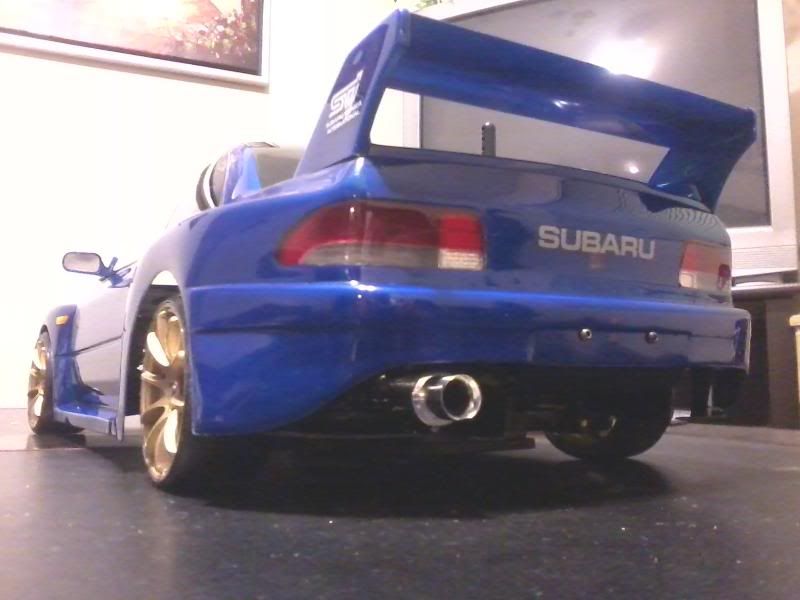
Rival shots = D
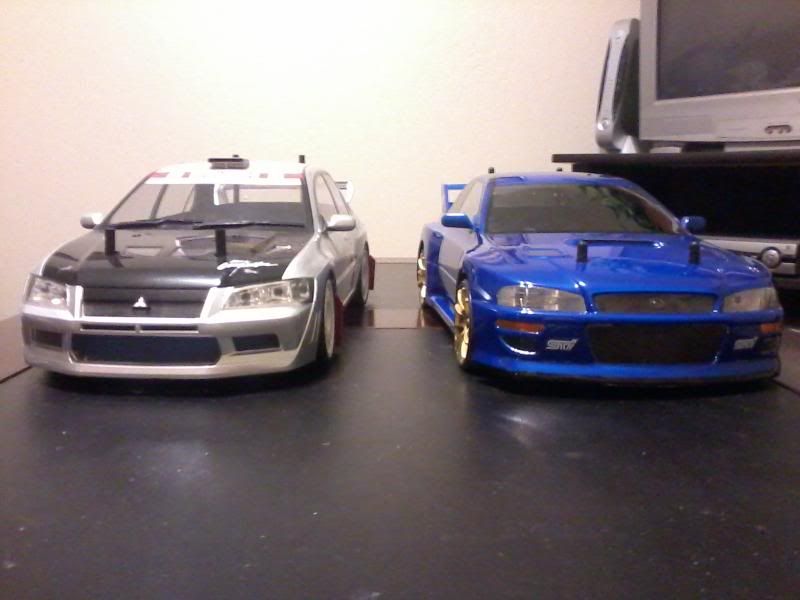
Well I hope you enjoyed this build. It's a lot of fun scratch building and adding those little details that make the bodies more authentic. Stay tuned for more stuff from me.
- DDJ
9/30/11